How to bevel leather
Which side of the cut to bevel, how to walk a beveler for a smooth line, and how beveling fits into the order of stamping a floral design.
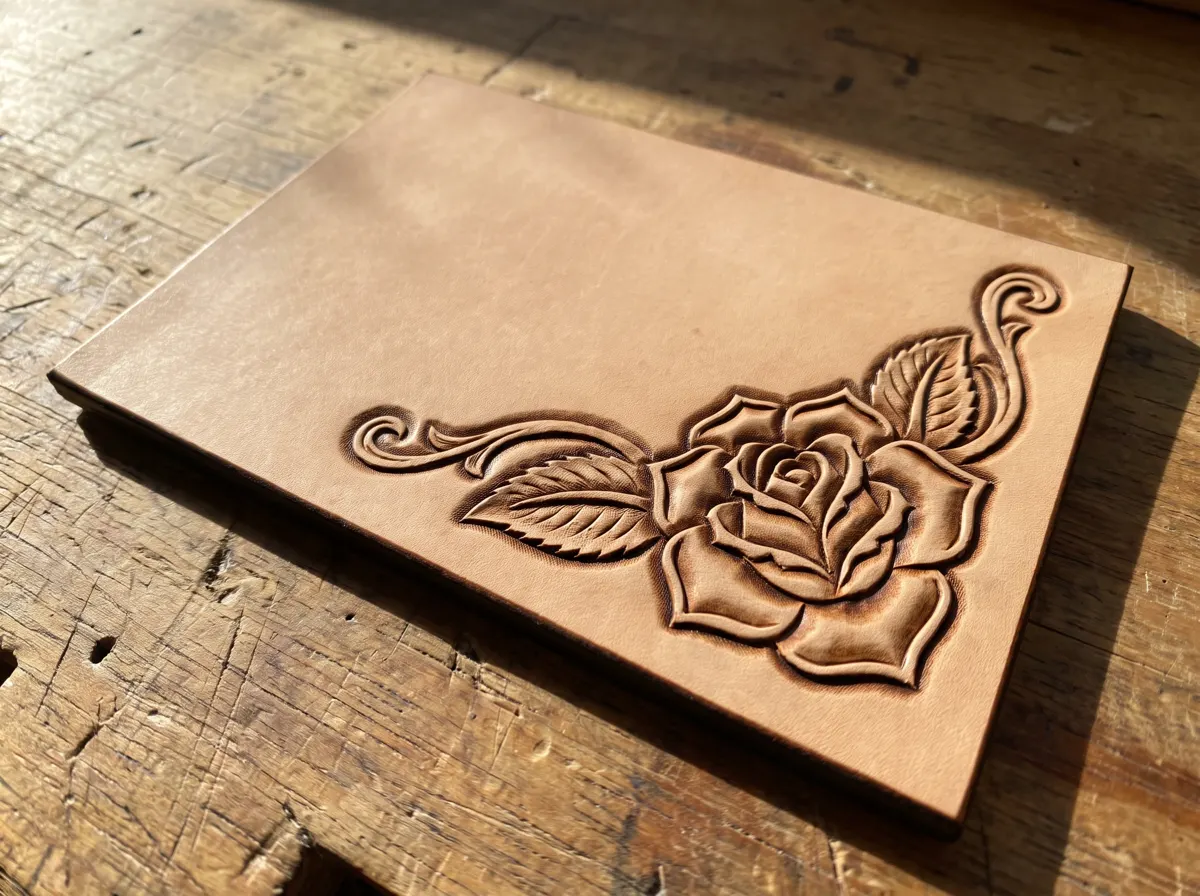
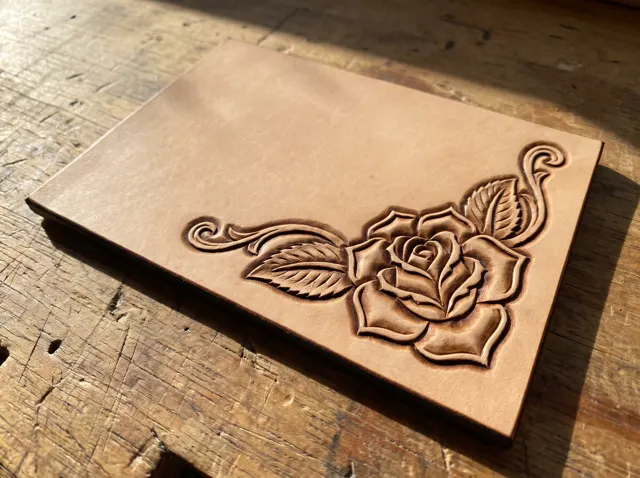
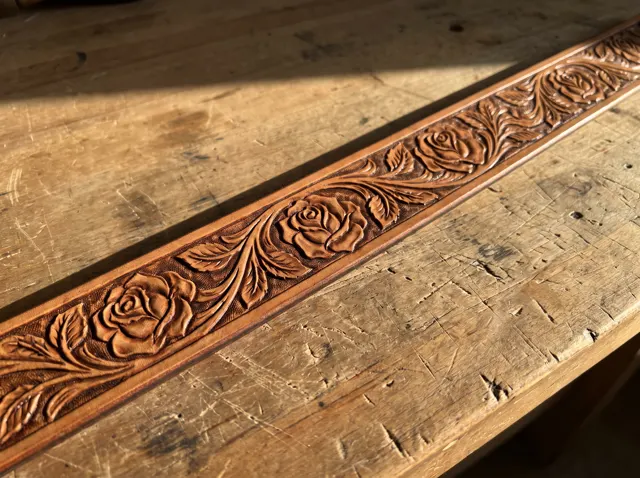
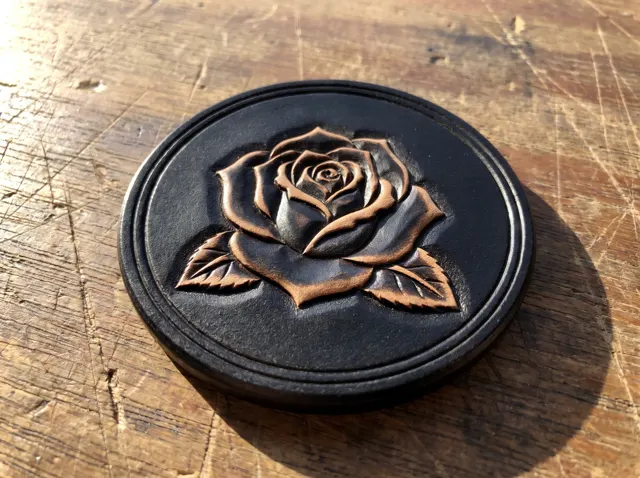
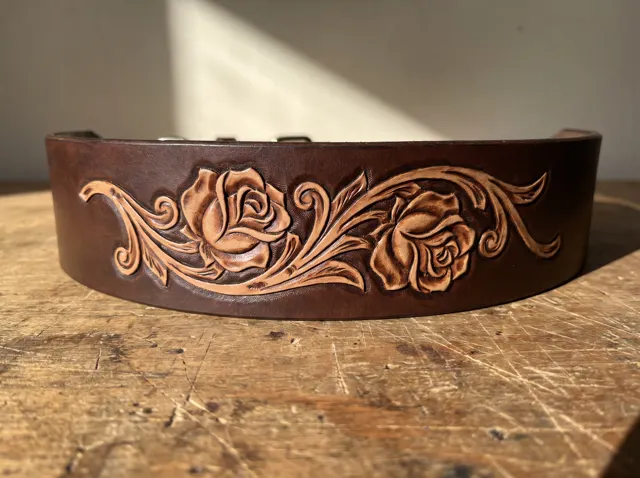
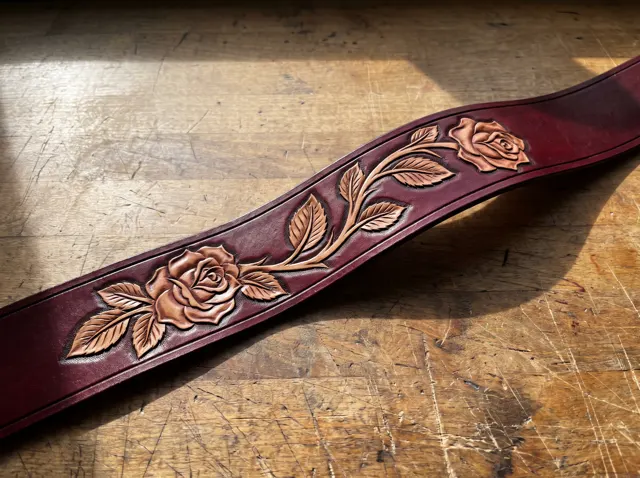
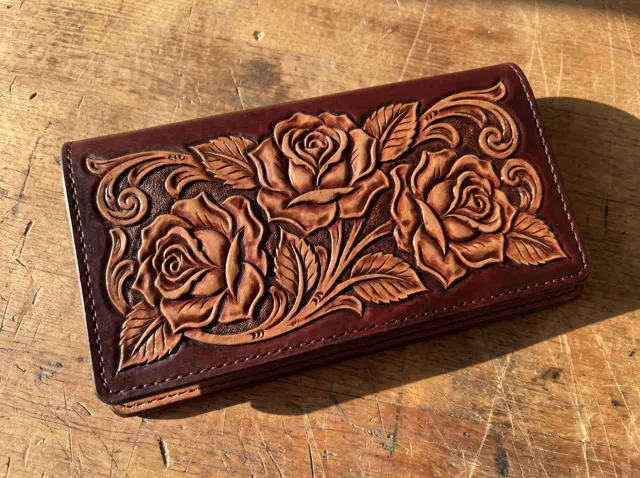
Beveling pushes the leather down along one side of a cut, so the design element on the other side stands up. It is the step that turns flat cut lines into relief, and on a floral pattern you bevel nearly every line you cut.
Which side to bevel
Bevel the side away from the element you want raised. Around a flower, that means the background side of its outline. Where one element overlaps another, a petal in front of a leaf for example, bevel the element that sits behind, so the front one looks like it is on top. Before you start, decide which parts of the design are in front. The tracing outline does not show it, but the rendered example on each pattern page does.
Walking the beveler
- Set the edge of the beveler into the cut, with the sloped face towards the side you are pushing down.
- Hold it upright and strike it with even force.
- Move it along the cut by about half its width and strike again, so each impression overlaps the last. Keeping the tool touching the leather while you move it makes the line smoother; this is called walking the beveler.
- Work along the whole line at the same rhythm and strike strength.
Even overlap and even force give a smooth bevel. Uneven spacing leaves a row of visible steps, sometimes called chatter.
Changing depth
A line usually looks best beveled deepest where elements overlap and fading out towards the end of the cut. Strike lighter and tilt the beveler slightly as you reach the end of a line, so the bevel tapers off with the cut.
Checkered, lined and smooth bevelers
Checkered and lined bevelers have a textured face that hides small unevenness in your spacing, which makes them easier for a beginner. Smooth bevelers give a polished, burnished line but show every inconsistency. Narrow bevelers get into tight curves; wide ones cover long straight lines faster.
Where beveling fits
A common order for a floral design is: cut, bevel, pear shade, background, then veiners, camouflage, seeders, and finally decorative cuts. Beveling comes before backgrounding because the backgrounder needs a defined edge to work up to. If the leather has dried while you were beveling, re-case it before going on.